Overview
This guide walks you through configuring Okta as the Identity Provider (IdP) for Maxim AI using SAML 2.0. You will:- Create a SAML 2.0 app in Okta
- Configure SAML settings and attributes
- Assign users and groups
- Upload Okta metadata to Maxim AI and test SSO
Prerequisites
- Okta administrator access
- Maxim AI admin access
- SAML-based Single Sign-On (SSO) enabled for your plan. Check plans for more details.
Step-by-Step Setup
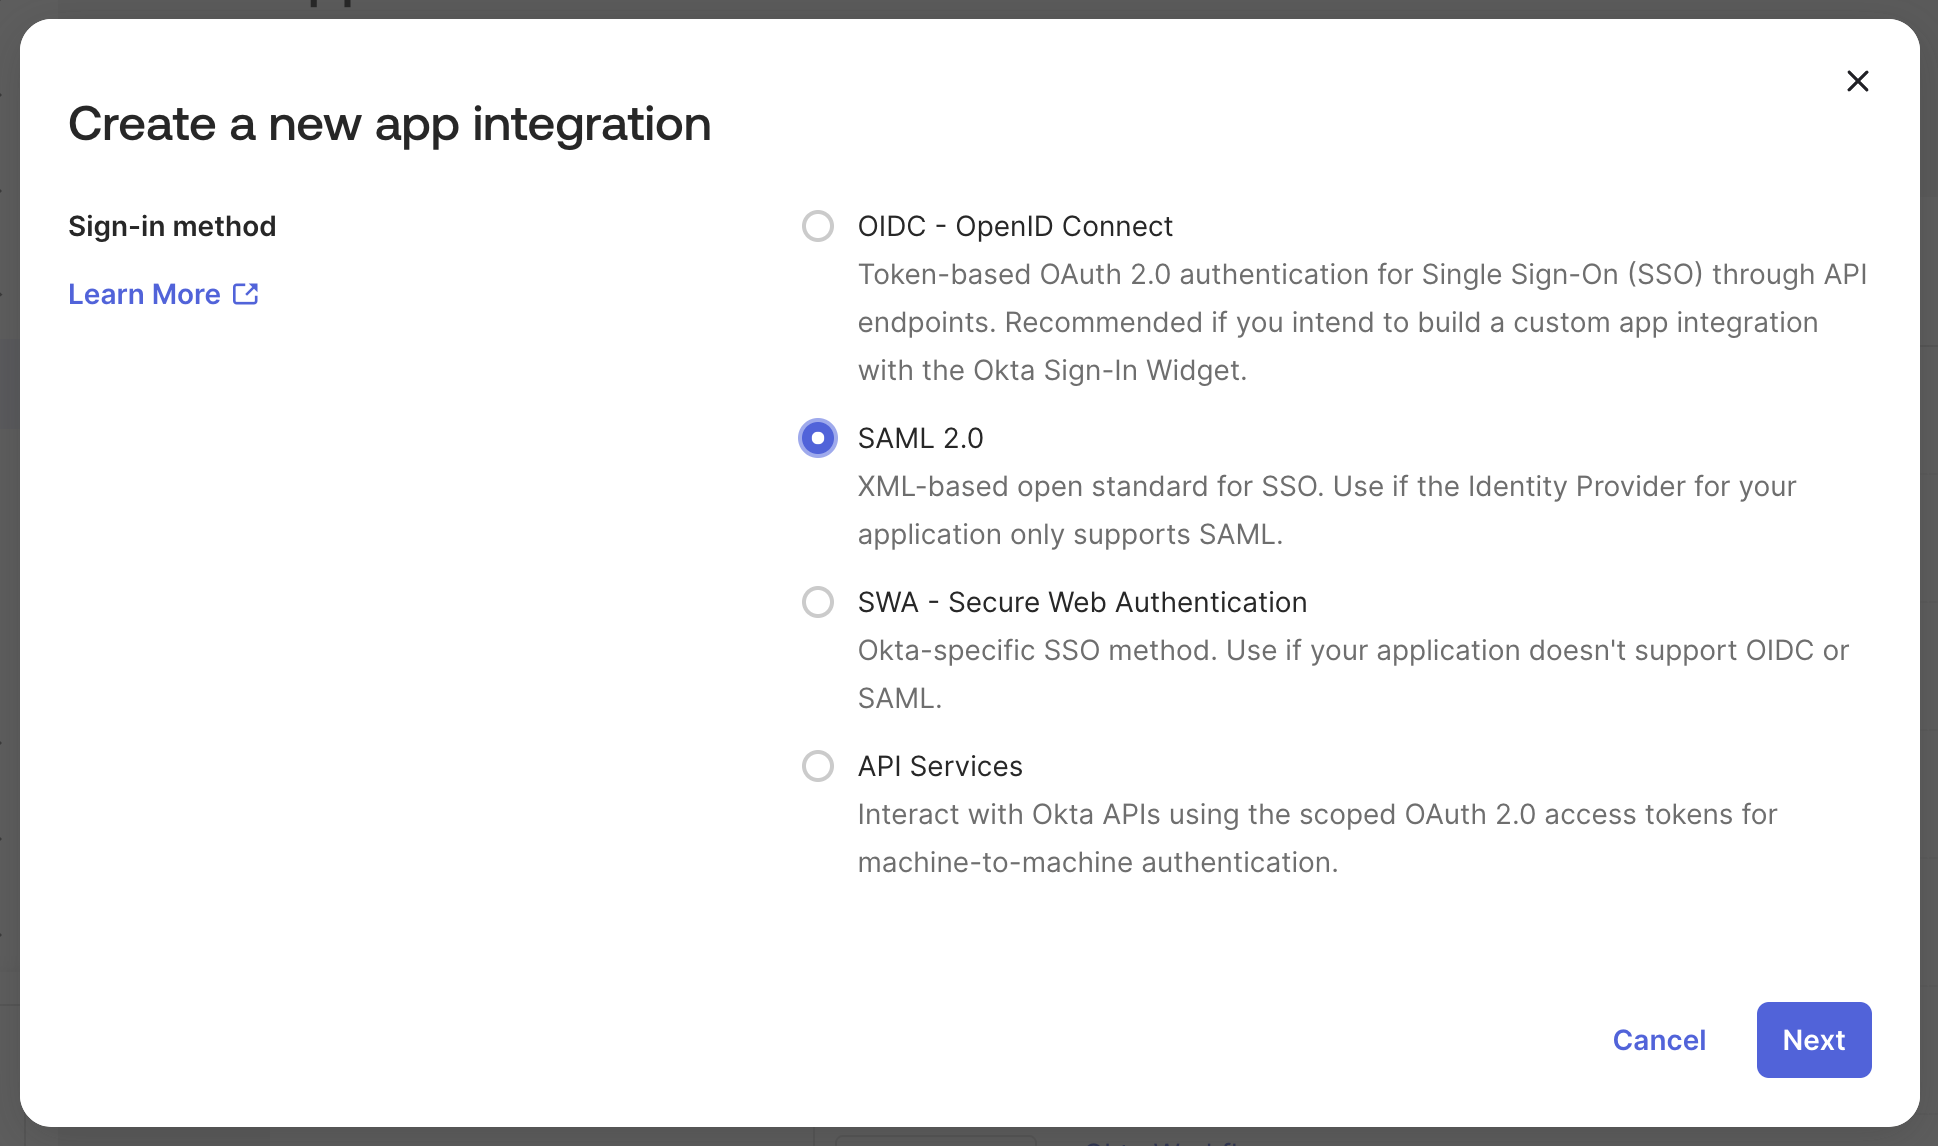
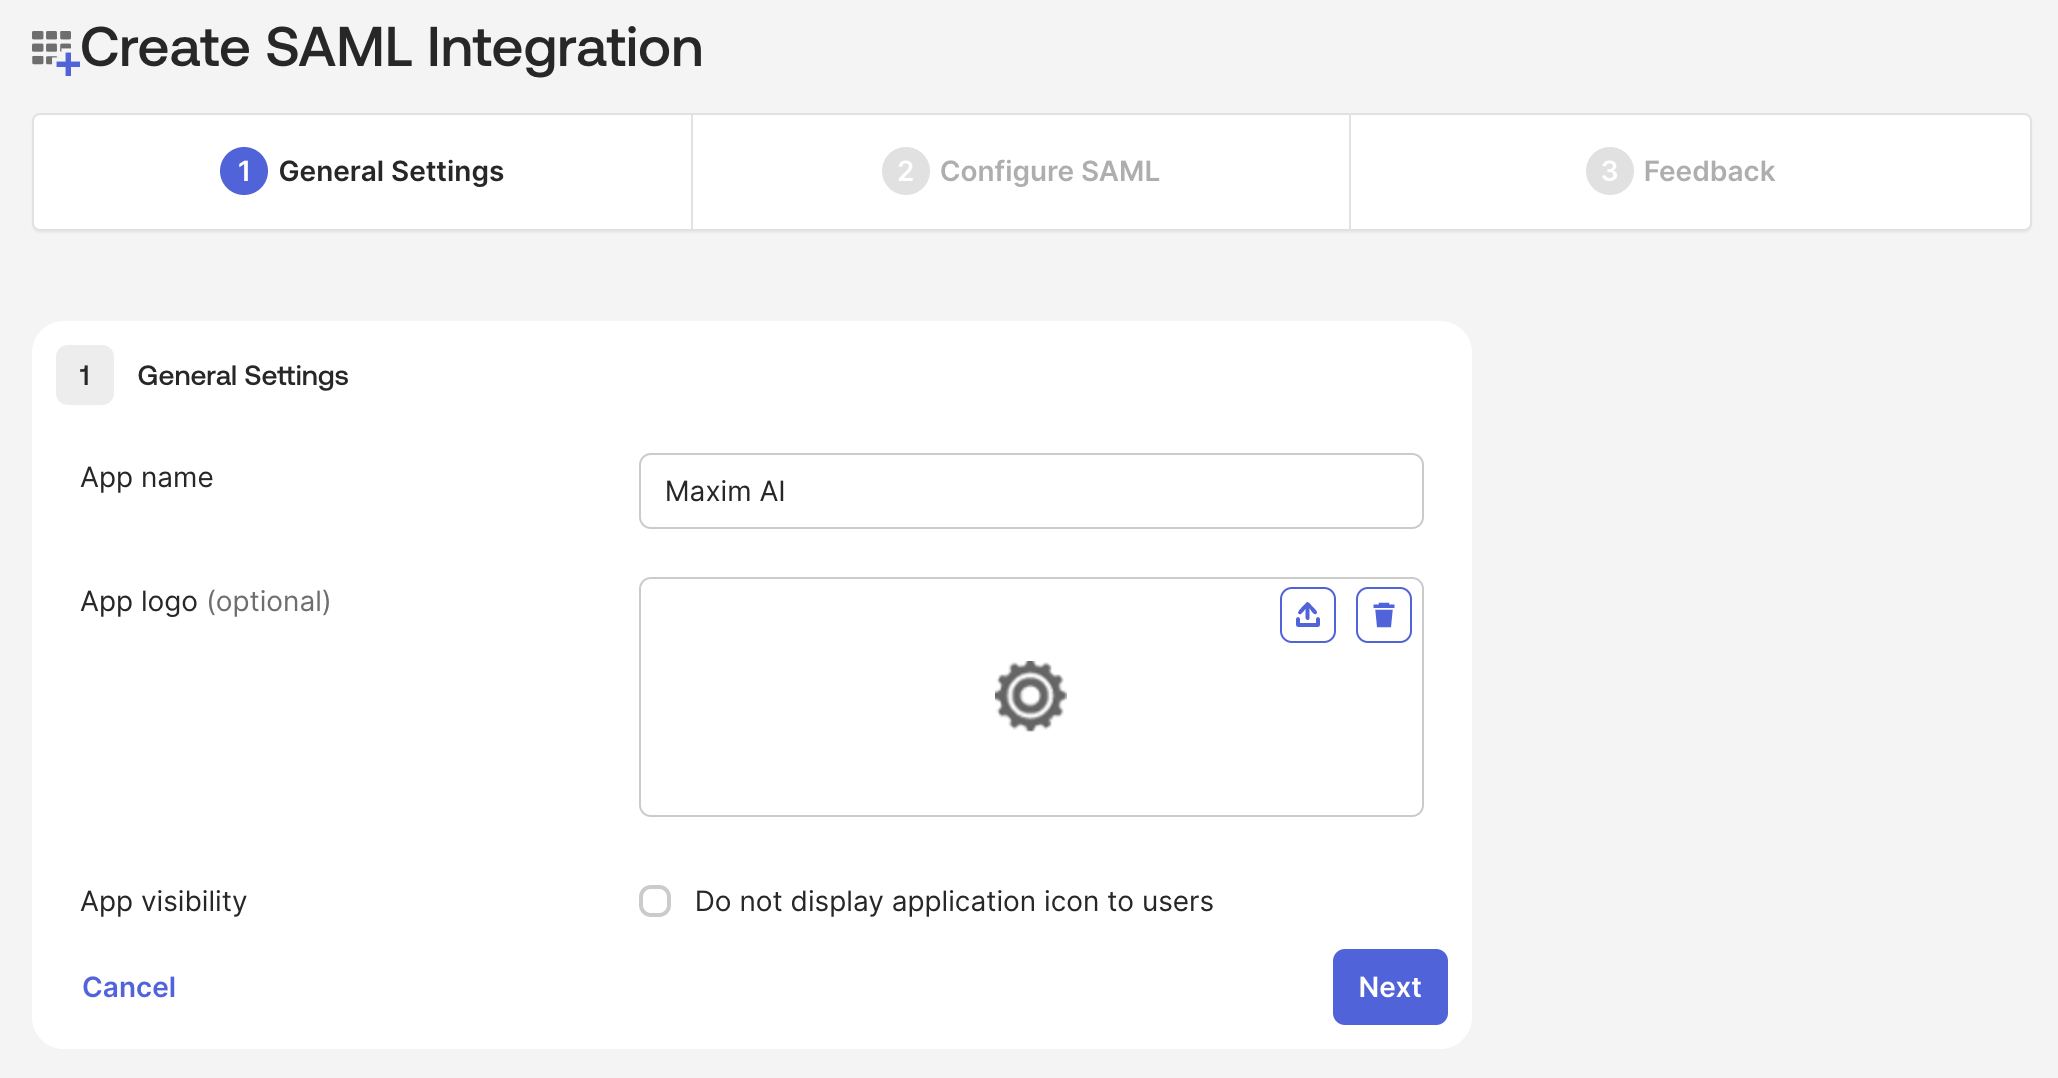
Create a SAML 2.0 application in Okta
In Okta Admin Console, go to Applications → Applications and click “Create App Integration”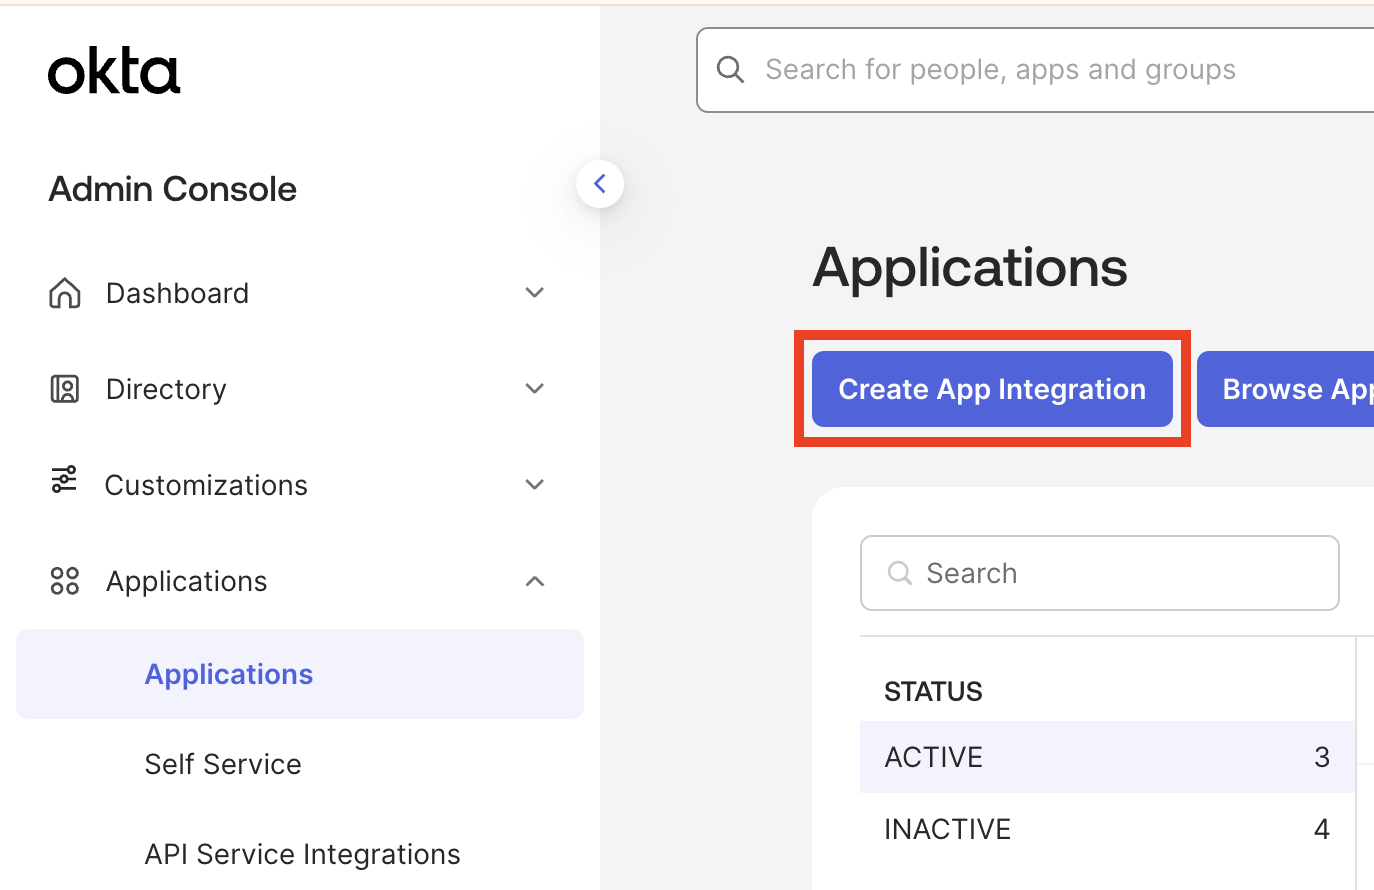
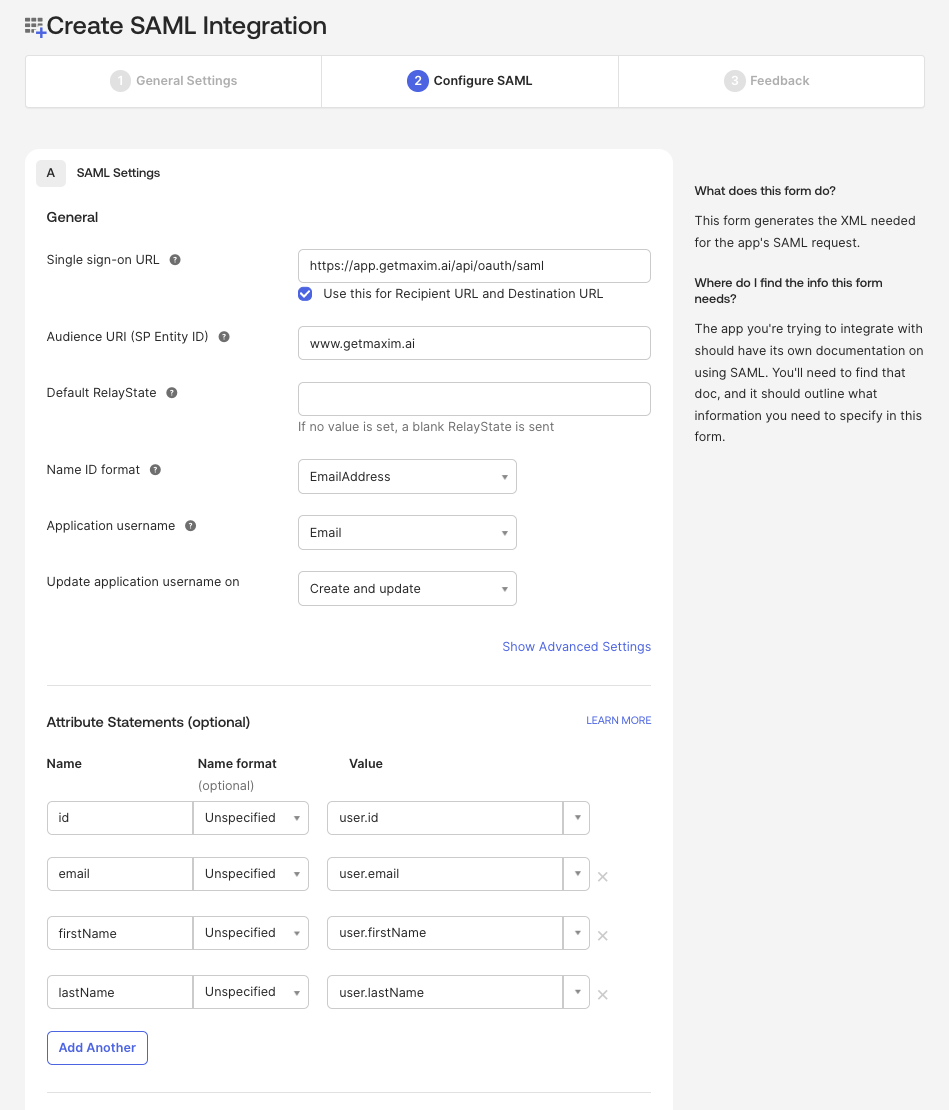
Configure service provider details
In the SAML settings:
- Single sign-on URL (ACS URL):
https://app.getmaxim.ai/api/oauth/saml - Audience URI (Entity ID):
www.getmaxim.ai - Name ID format: EmailAddress
- Application username: Email
- email → user.email
- firstName → user.firstName
-
lastName → user.lastName
Support settings
In Okta, leave the default support contact settings unless your org requires custom values, then click “Next”.
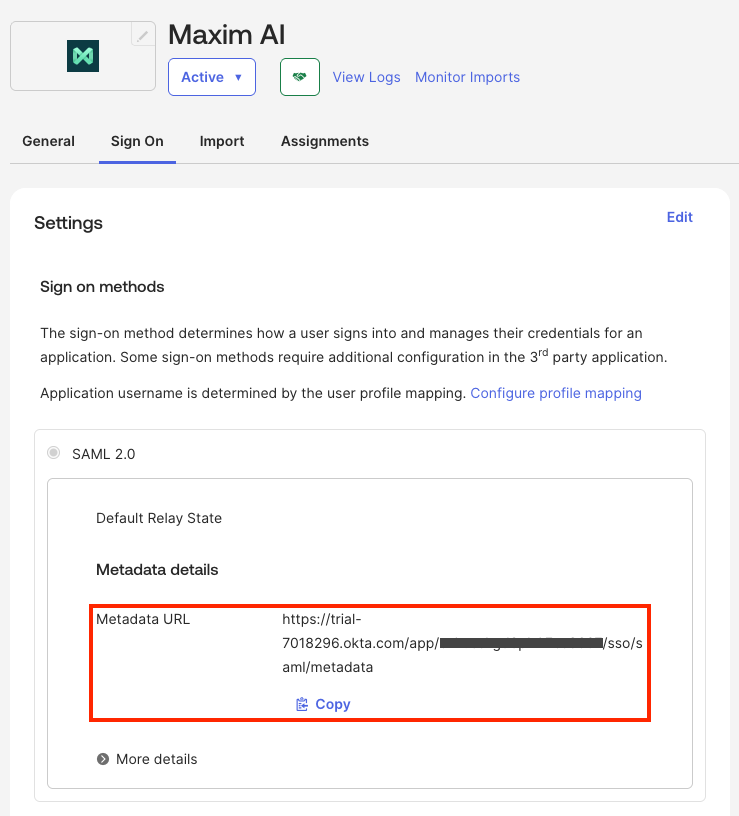
Upload IdP metadata to Maxim
- Log in to Maxim AI, go to Settings → Single sign-on, and click “Add identity provider”
- Enter your email address domain as the tenant identifier
- Enter “Okta” as the name for the identity provider
- Paste the IdP metadata URL and click “Add provider”
